barrycraig
New member
Hi All,
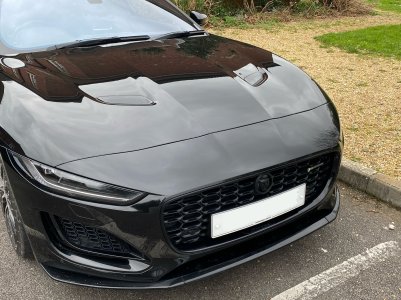
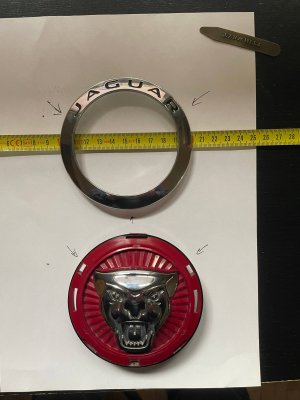
I'm curious if anyone has swapped the standard red badge to the new all black badge that comes as standard on the 2023 model? Can anyone confirm if the entire front bumper has to come off to facilitate such a swap?
Cheers!
I'm curious if anyone has swapped the standard red badge to the new all black badge that comes as standard on the 2023 model? Can anyone confirm if the entire front bumper has to come off to facilitate such a swap?
Cheers!


")
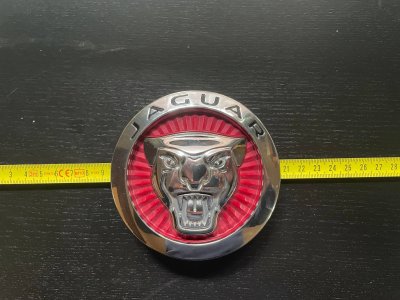
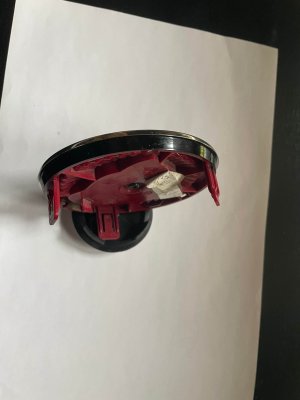
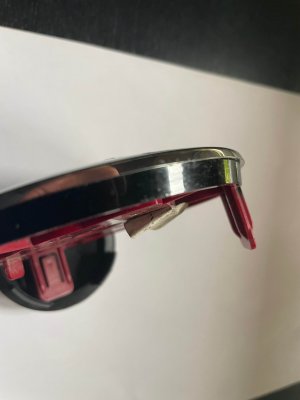
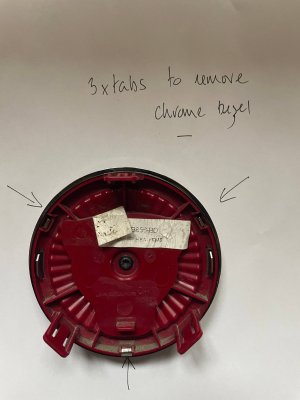
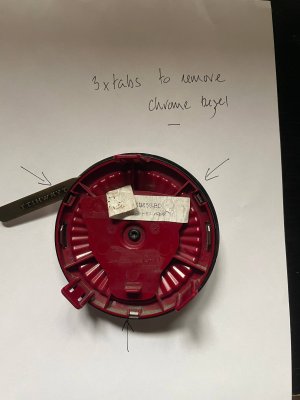
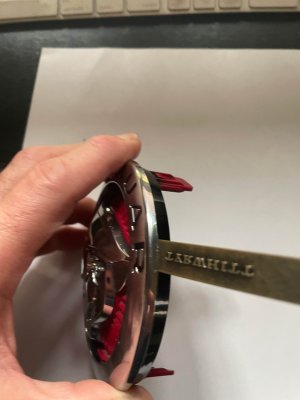
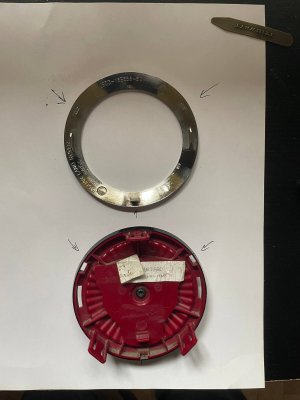
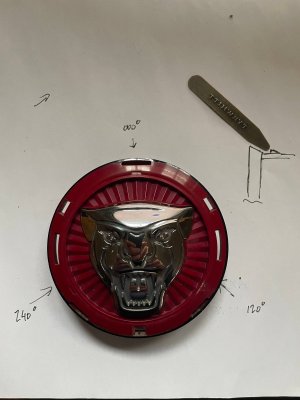
 ) and have successfully swapped the red growler with a new black “75” version. Looks really good and I’m sure my fingers will recover soon.