Did mine yesterday, DIY. I have a Das6 Pro+ DA polisher, which I’ve had for a few years. Bought the F Type earlier this year with a view to giving it a full detail as and when I could fit it in. I don’t have access to a covered workshop, so all the work would have to be done on the driveway. This meant the height of summer was oit really as it would just be too hot to polish successfully. Yesterday and today have been perfect.
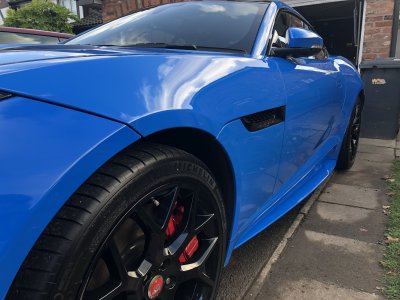
When I bought the car the paintwork was hazy and felt like wet and dry paper to touch due to the amount of contamination embedded in the paint. The nose was so badly stone chipped that I elected to get that resprayed a month or so back.
The plan was not to make it perfect, as the paint probably wasn’t quite good enough for that, but to resurrect it and make it look as good as I could. I started with my usual two stage wash, then used Valet Pro ‘Dragon’s Breath’ around the wheel arches and side panels where most of the brake ‘fallout’ had landed and embedded.
Next stage was to clay the paintwork fully. This pulls all the contaminants out of the paint and leaves it silky smooth - so much better than before.
I had previously cleaned out and filled as many stone chips on the bonnet as I could, with paint left over from the respray and some clear coat on top. Now these had fully hardened I rubbed the little clear coat ‘bumps’ with 2000, then 3000 grit wet and dry to get them flat and blended to the surrounding paintwork. This is the ‘No going back’ stage where you have wet sanded and left dull patches all over your bonnet!
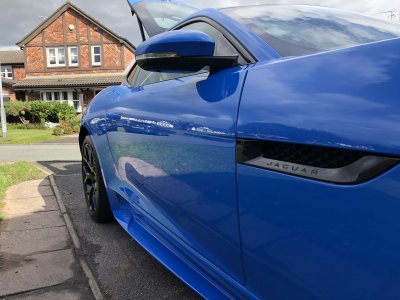
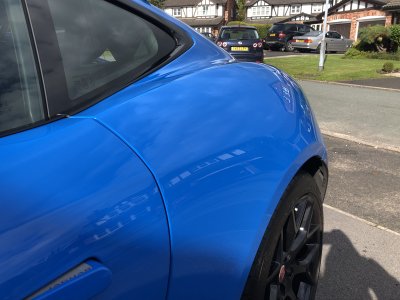
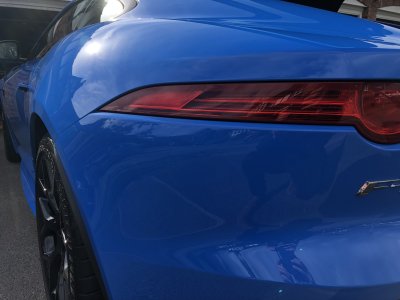
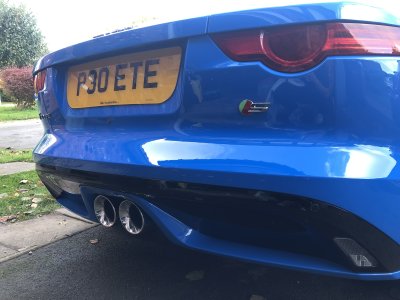
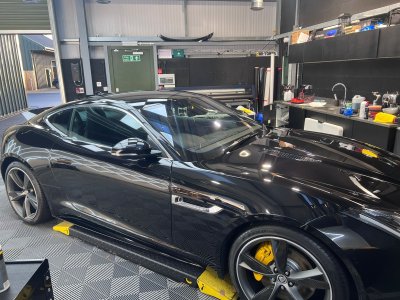
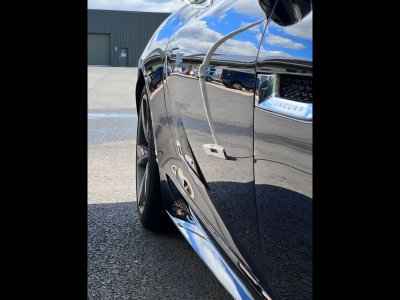
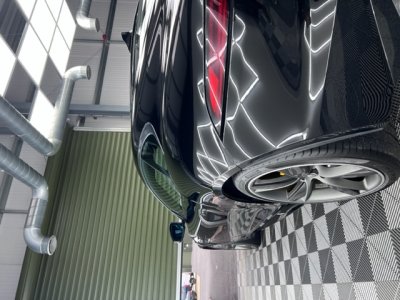
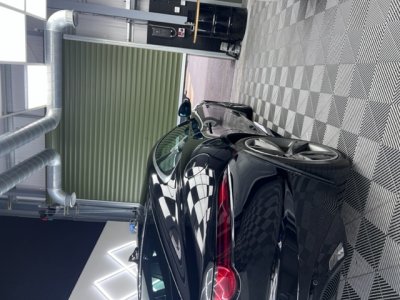
Rinsed off again and then set to with the DA polisher using a Hexlogic medium cut pad and Menzerna 2500 medium cut polish. Once the whole car was done I applied Collinite 476S wax o leave a gleaming exterior. It’s not perfect, far from it, but most of the marks have been successfully removed and the remaining tiny stone chips that I’d missed are only visible very close to. I’m happy with the results.
It took me a full day, and at 55 with a bad back I was barely able to walk last night after finishing! It’s easing up this morning and I am happy with my efforts and the results I have achieved.